Eloquent Images by Gary Hart
Insight, information, and inspiration for the inquisitive nature photographer
My Lightning Photography Reset
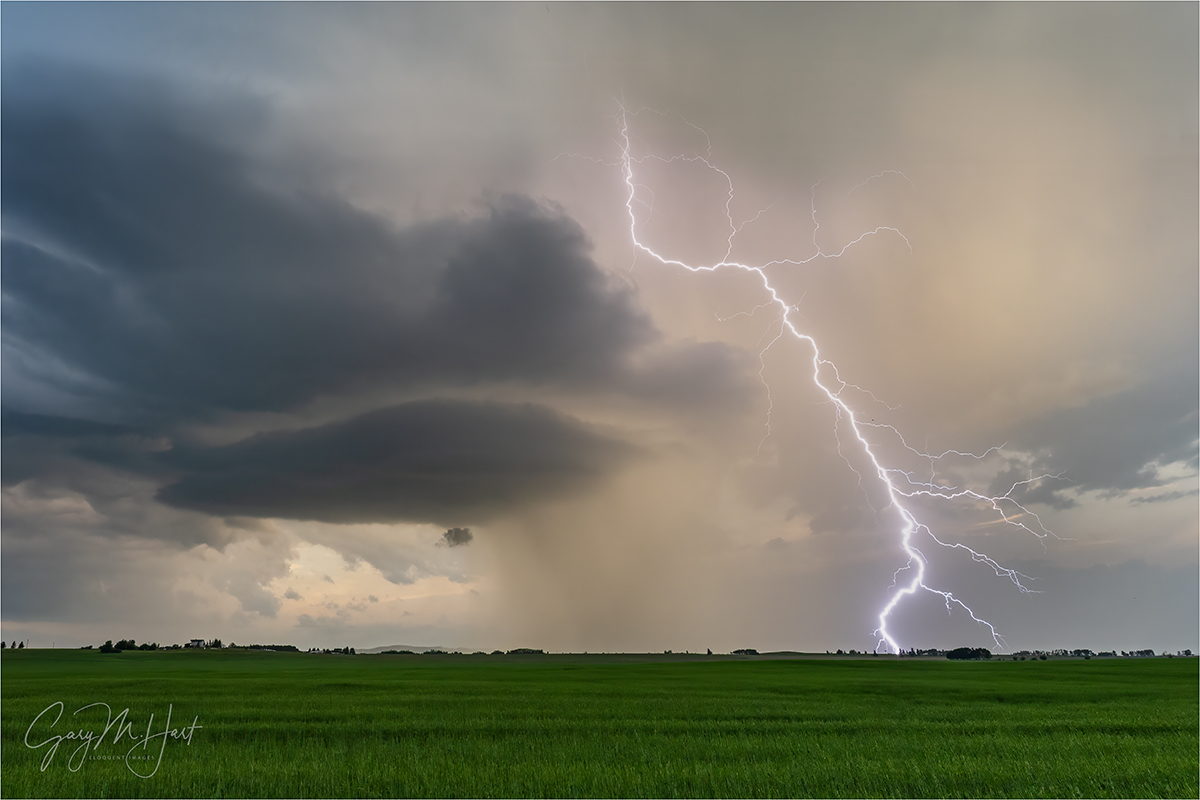
Complex Lightning Strike, Western Alberta, Canada
Sony a7R VI
Sony 12-24 f/2.8 GM
1/60 second
F/9
ISO 400
Fifteen years of chasing
I’ve been photographing lightning for more than 15 years. Living in Northern California (where lightning is newsworthy), I have to travel to photograph lightning, so until last year, virtually all of my lightning images came from Grand Canyon. But in 2025 I upped my lightning photography game by adding Midwest storm chasing to my schedule, then doubled-down this year with a Canada storm chasing trip. Next year, and into the foreseeable future, I’ll have three lightning-focused workshops on my schedule: storm chasing on the Midwest and Canadian plains (one each), plus Grand Canyon monsoon.
The lightning photography that thrills me most, daylight lightning, is also the most challenging. A lightning bolt comes and goes faster than most humans can react. At night that’s an easy problem to overcome by simply leaving the shutter open and waiting for the lightning, comfortable in the knowledge that any lightning that fires will stand out brilliantly against the surrounding darkness. But in daylight, lightning is washed out and sometimes completely lost in long exposures—the longer the exposure, the less lightning stands out.
Another daylight lightning solution that I consider a last resort is to set up your composition and exposure with your camera on a tripod, then set your intervalometer to click continuously. Since I try to avoid exposures longer than 1/15 second that can wash out daylight lightning, that can mean a lot of frames to go through (assuming you don’t run out of card space before the storm is spent)—a particular problem (and waste) when there’s several minutes between bolts.
I’ve found the best solution to capture daylight lightning to be some kind of lightning sensor that detects the lightning and fires your shutter faster than you can. For all my lightning trips, I’ve always armed myself with a Lightning Trigger (two, in fact). Which is why every daylight lightning image in my Lightning gallery was clicked by a Lightning Trigger. Until this year.
This year two things changed: first, I added a Sony a7R VI to my camera bag, which adds pre-capture to my lightning photography arsenal; and I found a lightning sensor I like better than the Lightning Trigger. Before I get into the end of my Lightning Trigger relationship (it’s complicated), let me say a few words about pre-capture and lightning photography.
Pre-capture
First, and I can’t emphasize this strongly enough (despite the assertions of others), pre-capture does not replace a lightning sensor , it complements it. (FYI, even though “lightning trigger” is frequently used as a generic term, Lightning Trigger is actually trademarked by Stepping Stone, the maker and seller of Lightning Trigger, so I use “lightning sensor” unless I’m talking about an actual Lightning Trigger device.)
For those who don’t know what pre-capture is (and if you don’t know, your camera probably doesn’t do it), it is way to make your camera buffer, without writing to the memory card, a certain number of frames for a specified period before the shutter is pressed (for my a7R VI, that would be a maximum of 30-ish frames over no more than 1 second), then write all those buffered frames to the memory card with the first shutter press. In other words, with pre-capture you can photograph events that happen before you press the shutter.
I’m not going to get into a lot of pre-capture specifics because, first, it’s implemented differently on different cameras, and second, I’m very new at it. But it shouldn’t be hard to imagine the opportunities pre-capture offers wildlife, sports, lightning, and any other type of photography that requires fast reaction. I mean, how many times have you been poised to capture lightning, a bird’s take-off, or any other event that requires an impossibly quick reaction, only to miss the best part (or the entire thing!) because you weren’t fast enough? Pre-capture to the rescue!
The downsides of pre-capture for lightning photography are two-fold. First, pre-capture requires standing poised with your finger on the shutter release and eyes on the sky, waiting for a lightning bolt that might be seconds, minutes, or never away. With a Lightning Trigger or other sensor mounted, I can just set up my camera on a tripod, compose and meter the scene, and wait. With everything set up and ready for action, I can walk around, rummage through my bag, chat with (or assist) other photographers, read a book, go sit in the car, or…, well, the possibilities are endless.
The second downside of pre-capture is rolling shutter, which occurs when the lightning fires in the middle of an exposure and noticeably changes the exposure for some of the frame. It happens because most digital cameras’ electronic shutters read the scene from the top-down (albeit extremely fast) rather than every pixel at once. The result is a frame with a distinct line separating its darker upper half from its brighter lower half (like having a hard graduated neutral density filter in front of your lens).
The faster your sensor reads the light, the less problem rolling shutter is. And if you’re lucky enough to be shooting with a global shutter that captures the entire frame at once—I’m looking at you, Sony a9 III—rolling shutter isn’t a problem at all. (The image I share above is my first pre-capture success, and also my first exposure to rolling shutter—something I was able to fix in Photoshop with a non-trivial amount of effort.)
Changing lightning sensors: It’s not you, it’s me…
In my 15 years photographing lightning, until this year I’ve never seen a lightning sensor that does a better job capturing lightning than Lightning Trigger. And when you lead up to three lightning photography workshops per year for that long, you get exposed to a lot of lightning sensors. A lot.
Despite my strong recommendation to my workshop students to go with Lightning Trigger, on average I’d say one or two people per workshop show up with something different—from all the big names in lightning sensors with sexy features and far better marketing (and websites) than Lightning Trigger, to new start-ups making impossible promises. And in that time, I’ve watched frustrated workshop students do everything from throw away their non-LT sensors to offer exorbitant sums to purchase fellow students’ Lightning Triggers during the workshop.
I remain as satisfied as ever with my Lightning Triggers success rate, and know that the ones purchased today would work as well as my 15-ish year old versions. So even though Stepping Stone seems to be going through some kind of transition, and their website (which was never especially good) has said for months that it’s store is temporarily closed while they relocate (promising to reopen “better than ever”), I was assured that my storm chasing workshop students would get their Triggers before this year’s workshops.
Granted, every relationship has its frustrations and irritations, but I was willing to live with Lightning Trigger’s—proprietary cables, 9-volt batteries, an on/off switch that is easy to accidentally turn on when the the LT is put away or jostled, no sleep mode that saves the battery after a prescribed period of non-use, not water resistant, easy-break plastic mounting plate—simply because it still performs its most important role, capture lightning, as well as ever. In other words, and despite the fact that none of these shortcomings have been addressed in 15 years, I was not looking to change.
Love at first strike
Two things caused me to stray: first, several of this year’s students didn’t get their Lightning Triggers in time for their workshop (despite, in a couple of cases, being personally promised). That frustration alone, though significant, wouldn’t have been enough to initiate my wandering eye, but it coincided with me witnessing firsthand a lightning sensor that consistently bested my Lightning Trigger in side-by-side use. Not so much in capture rates, which were comparable, but in the quality of the strikes captured.
Over the years I’ve seen many lightning sensors that appear more modern, are more compact and easier to use than Lightning Trigger, not to mention waterproof, but I was never tempted because there was one thing none did as well: capture lightning. Then, one afternoon in Canada last month, after photographing with my group an especially dramatic lightning storm moving across our view a few miles away, a funny (and unprecedented) thing happened: the best success didn’t come from the Lightning Triggers. We all captured some version of the lightning we saw, but the two people using something called Bolt Hunter consistently captured the best version of these especially complex bolts. Whaaaat?
I thought it must be a fluke, but when it happened time and again, I dug a little deeper and found an interview with Bolt Hunter’s founder and learned that not only does it scrutinize the various (and invisible to the eye) lightning components to determine the best time to fire the camera’s shutter, it learns about your own camera (through a series of easy to execute tests in the initial setup) so it can make the best possible decision for trigger timing.
For example, most lightning sensors fire as quickly as possible the instant they “see” lightning. But sometimes the best part of the bolt happens after the exposure is finished. Bolt Hunter tests (and also reports back to you, BTW) your camera’s shutter lag (a very difficult number to find); it “knows” enough about lightning to factor in your camera’s shutter lag and trigger the shutter at the time most likely to capture the best version, or versions (because it also knows how long it takes your camera to fire another frame after the initial frame), of the bolt.
Below are two lightning images captured side-by-side. Unfortunately, due to user error (in very low light, in my haste it seems that I trusted my autofocus too much), the Lightning Trigger version of this strike was soft (definitely not a Lightning Trigger problem). Fortunately, I was also playing with pre-capture using my Sony a7R VI, so I did get a clean version of this one: the top image. Eliminating the rolling shutter effect took a little extra processing work, but I managed to end up with something that pleased me.
Then I saw the Bolt Hunter version captured by workshop student Don Goldman (the second image below). Ignoring slight framing differences and processing choices, what’s the biggest difference between these two images? To me it’s the quality of the lighting captured by Don’s Bolt Hunter, and the number of feathery filaments he captured over my version. (This isn’t the only side-by-side comparison that favored Bolt Hunter, it’s just the only example I have easy access to.)
Granted, this single example is far from the extensive test, designed to minimize variables and generate numerous comparisons, that a scientific journal would require. It’s even possible the Lightning Trigger would equal or even surpass Bolt Hunter in more controlled circumstances. But given the other Lightning Trigger frustrations I cited above, feedback I’ve heard from other users, and the clear design/use advantages of the Bolt Hunter, I decided to pull the trigger (see what I did there?) on Bolt Hunter.
Complex Lightning, Western Alberta, Canada

Bolt Hunter lightning captured by Don Goldman
We can still be friends
Despite my switch, I have to say that Lightning Trigger still does job-one as well as ever: capture lightning. And I remain extremely grateful to Rich at Stepping Stone, Lightning Trigger’s inventor and sole distributor, for his incredible responsiveness and willingness to assist with any question or problem over many years. I can’t tell you the number of times I’ve called him from the rim of the Grand Canyon with a question or problem, and he’s always answered and stayed on the line until the question was answered or the problem resolved.
If, after extended use, I decide my decision was premature, I’ll have absolutely no problem dusting off my Lightning Triggers and mothballing my Bolt Hunters. And if that does happen, I promise to acknowledge my mistake and update you right here on my blog. But I’m optimistic that this will turn out to be a long term relationship.
Affiliate links
Only after purchasing two Bolt Hunters at full price did I reach out about becoming an affiliate. If you know me, you know that I’m extremely particular about my affiliations, and only have affiliate relationships with a very select set of vendors whose products I use and highly recommend. For some (including Bolt Hunter), I receive a small kickback when you purchase using my link. For others, the relationship benefits me in other ways.
As always, if you find any of these products cheaper elsewhere, go for it—if not, I’d be eternally grateful if you use my link.
Workshop Schedule || Purchase Prints || Instagram
My Lightning History
-
- Three Strikes, Lightning and Rainbow from Bright Angel Point, Grand Canyon North Rim
-

- Color and Light, Grand Canyon Lightning, Bright Angel Point
-

- Twilight Lightning, Hopi Point, Grand Canyon
-

- Hand of God, Forked Lightning, Grand Canyon
-

- Two Strikes, Grand Canyon Lightning
-

- Direct Hit, Half Dome Lightning Strike, Yosemite
-

- Downpour and Lightning, Desert View, Grand Canyon
-
- Fire in the Hole, Grand Canyon Lightning
-

- Two Strikes, Hopi Point, Grand Canyon
-
- Down the Middle, Lightning and Double Rainbow Near Amistad, New Mexico
-

- Multi-Strike Lightning, Vishnu Temple, Grand Canyon
-
- Bent, Grand Canyon Lightning
-
- Too Close, Somewhere in West Texas
-

- Forked Lightning, Point Imperial, Grand Canyon
-

- Diagonal Lightning Strike, Lipan Point, Grand Canyon
-

- Double Rainbow and Lightning, Amistad, New Mexico (vertical crop)
-
- Lightning Strike, Zoroaster Temple and Brahma Temple, Grand Canyon
-
- Lightning and Sun, Amistad, New Mexico
-

- Sunset Lightning, Grand Canyon
-
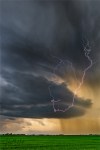
- Circle Lightning, Western Alberta, Canada
-

- Direct Hit, South Rim Lightning Strike, Grand Canyon Lodge
-

- Rim Shot, Grand Canyon Lightning
-
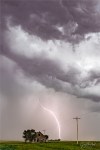
- Lightning and Abandoned House, Eastern Colorado
-

- Electric Sunset, Hopi Point Lightning, Grand Canyon
-

- Electric Sunset, Desert View Lightning, Grand Canyon
-

- Electric Rainbow, Walhalla Overlook, Grand Canyon
-

- Lightning Explosion, Oza Butte, Grand Canyon North Rim
-

- Sunset Lightning, Desert View, Grand Canyon
-
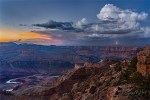
- Distant Lightning, Lipan Point, Grand Canyon South Rim
-

- Electric Downpour, Point Imperial Lightning, North Rim, Grand Canyon
-
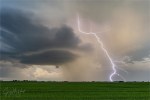
- Complex Lightning, Western Alberta, Canada
-
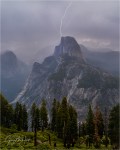
- Direct Hit, Half Dome Lightning Strike, Yosemite
-

- Thunderhead and Lightning, Lipan Point, Grand Canyon
-
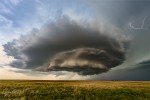
- Supercell and Lightning, Northeast Colorado
-

- Sunset Triple Lightning, Hopi Point, Grand Canyon
-

- Lightning at Sunset, Eastern New Mexico
-

- Sunset Supercell Lightning, Amistad, New Mexico
-
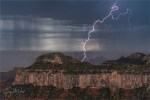
- Incoming, North Rim Lightning, Grand Canyon
-

- Thunderstorm, Lipan Point, Grand Canyon
-
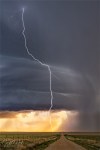
- Lightning and Road, Amistad, New Mexico
-

- Serpentine Lightning, Mather Point, Grand Canyon South Rim
-
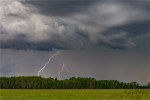
- Forked Lightning, Western Alberta, Canada
-
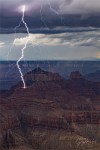
- Lightning Strike, Brahma Temple, Grand Canyon
-

- Lightning and Thunderhead, Eastern New Mexico
-

- Lightning Shadow, Grand Canyon Lodge, North Rim
-
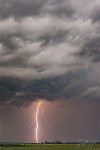
- Lightning Fingers, Western Alberta, Canada


WOW!!!
Dang!!!
Excellent work and thanks for the explanation. These tools are all new to me. As much as I’d love to add them to my arsenal, I’m not sure how my wife would feel about me adding Storm Chaser to my long list of pursuits.. 😉
Have to add another WOW to the chorus.
Wow, these are superb photos, what a wonderful collection! 😀 Is there a danger of being struck by lightning when you are doing this? Stay safe.
That’s insane. Is it possible to photograph lighting without a lot of special gear? Or if I could only buy one thing to capture lighting what would you suggest I buy?
Pingback: You Keep Using That Word… | Eloquent Images by Gary Hart